This is a quick step-by-step guide to connect from Windows 10 to a remote Windows Server using Remote Desktop Connection (RDP).
Step 1 — Open Remote Desktop Connection
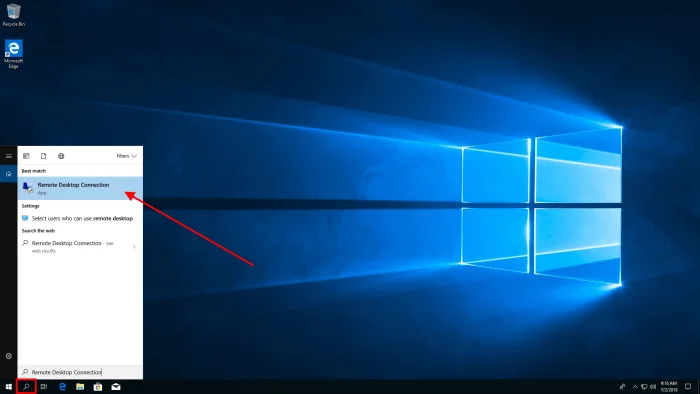
Click the search box in the lower-left of your screen, type Remote Desktop Connection, then select the app from the results to open it.
Tip: You can also press Windows + R, type mstsc, and press Enter.
Step 2 — Configure Remote Desktop Connection
Type the server's hostname (for example server.example.com) or the IP address into the Computer field and click Connect.
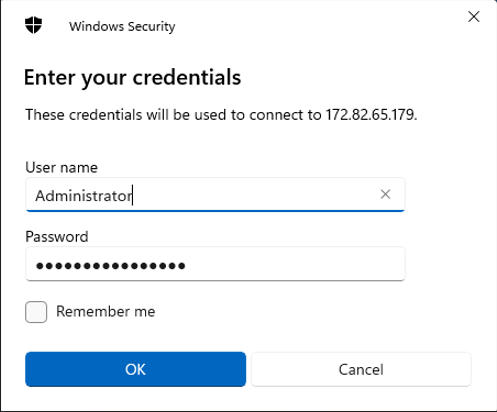
When prompted, enter the login credentials for your Windows Server. This is usually a domain account (e.g., DOMAIN\Username) or a local administrator account (e.g., .\Administrator).

Certificate Warning (Self-signed Certificate)
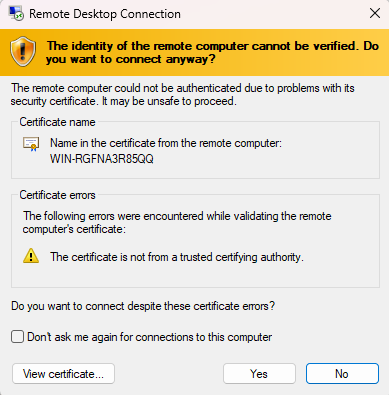
If the remote server uses a self-signed certificate, Remote Desktop will show a security warning that the certificate is not verified. This is normal for self-signed certificates.
Click Yes to continue the RDP session if you trust the server. If you do not trust the server, click No and contact your administrator.
Step 3 — Remote Desktop Connection Established
Once authentication completes and, if applicable, you accepted the certificate, the RDP session starts and you will see the remote server's desktop in a window on your machine.


