To change the RDP port on your Windows Server, please follow the instructions below:
1) Log in to your account through your Secure Customer Portal.
2) Navigate to Services -> My Services and select your server, which you wish to unlock the Administrator account on.
3) Open the noVNC console of your server.
4) Log in to your server, preferably using the Administrator account.
5) Next, through the search function, open "Registry Editor".
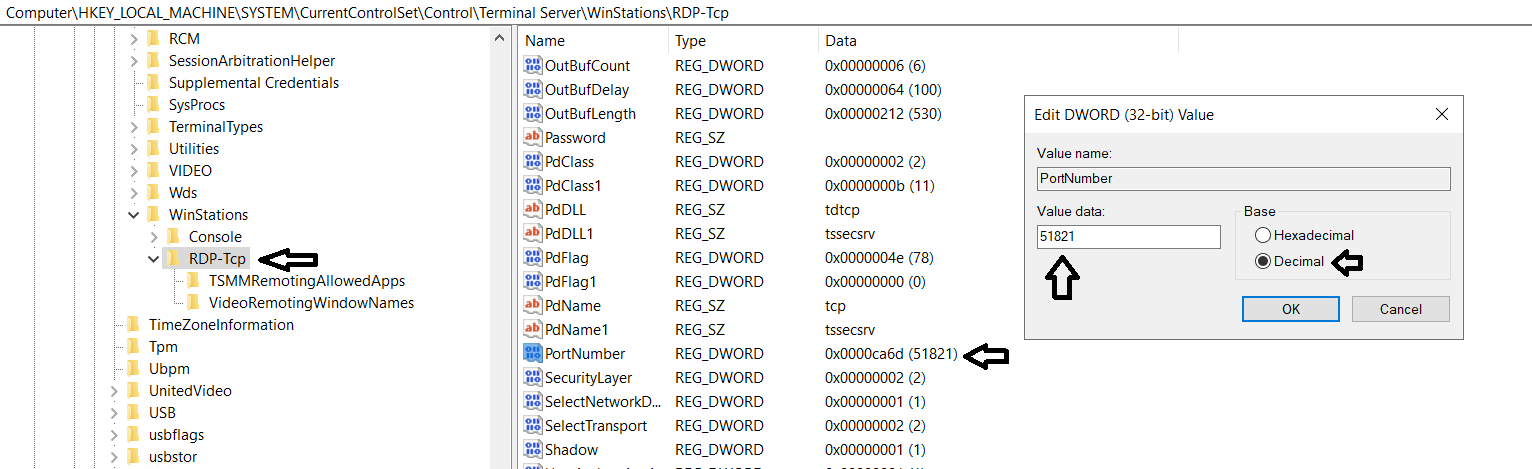
6) Navigate to the following path: HKEY_LOCAL_MACHINE\System\CurrentControlSet\Control\Terminal Server\WinStations\RDP-Tcp
7) Scroll down until you find the PortNumber parameter. Double click on it, select "Decimal" as the Base, and input the Port number in the Value Data entry field, and click "OK".
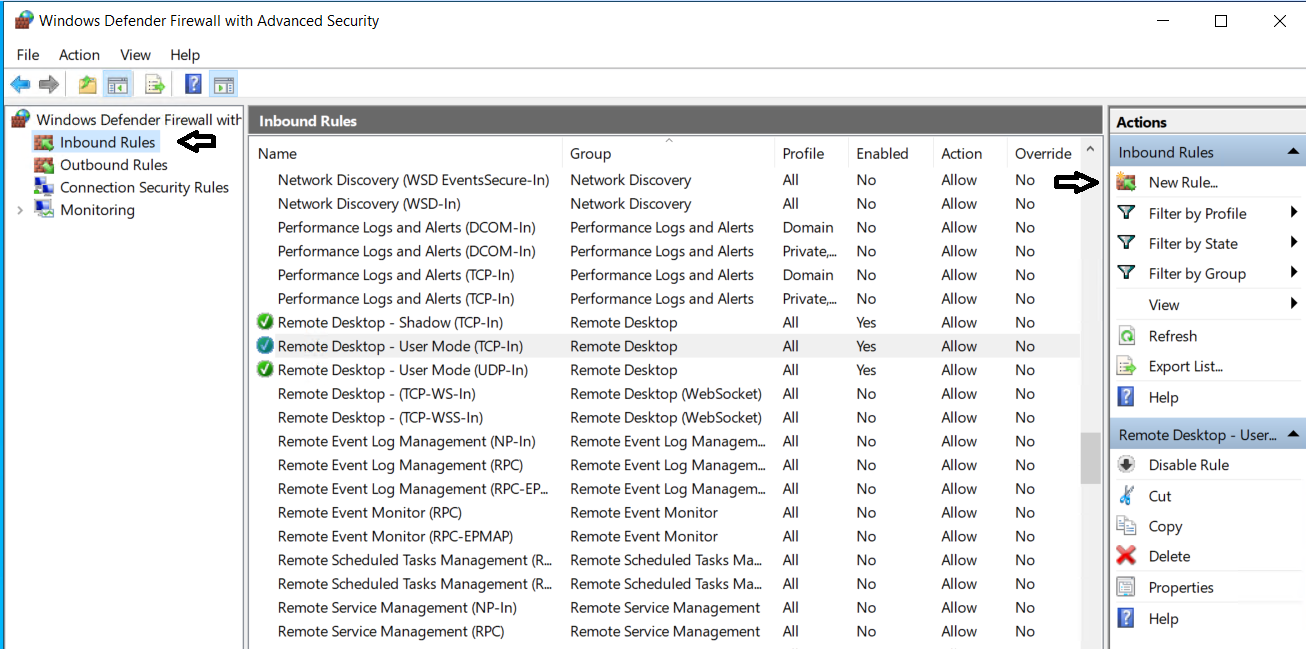
8) After you have changed the port number through the Registry Editor and closed it, navigate back to the search function and search for "Windows Defender Firewall with Advanced Security"
9) Navigate to Inbound Rules, and select "New Rule".
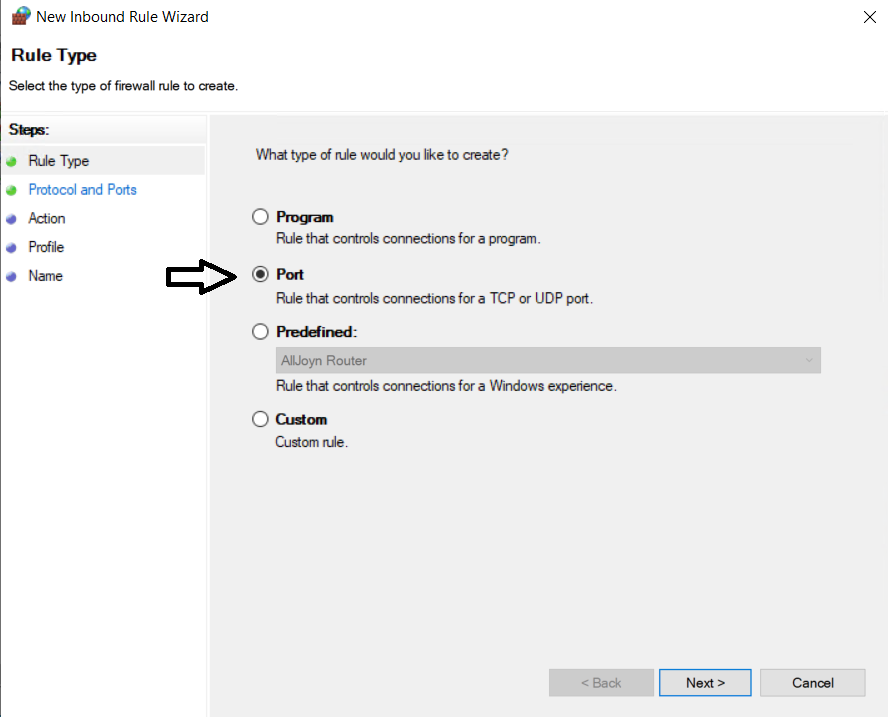
10) On the Wizard that appears, please select the following:
a) Port
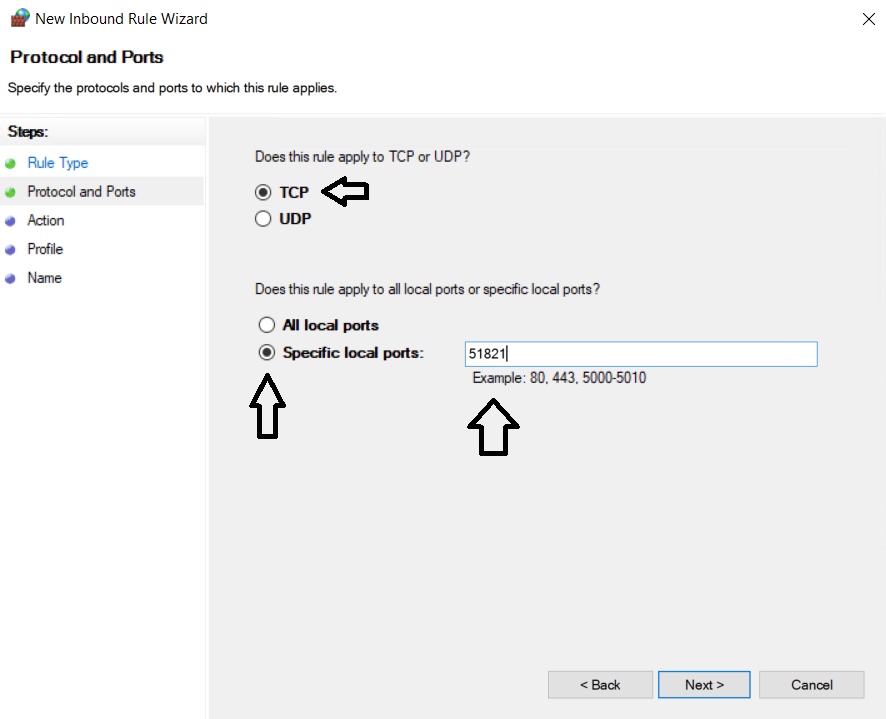
b) TCP, and Specific Local Ports. Input the port you wish to open (in our case, 51821)
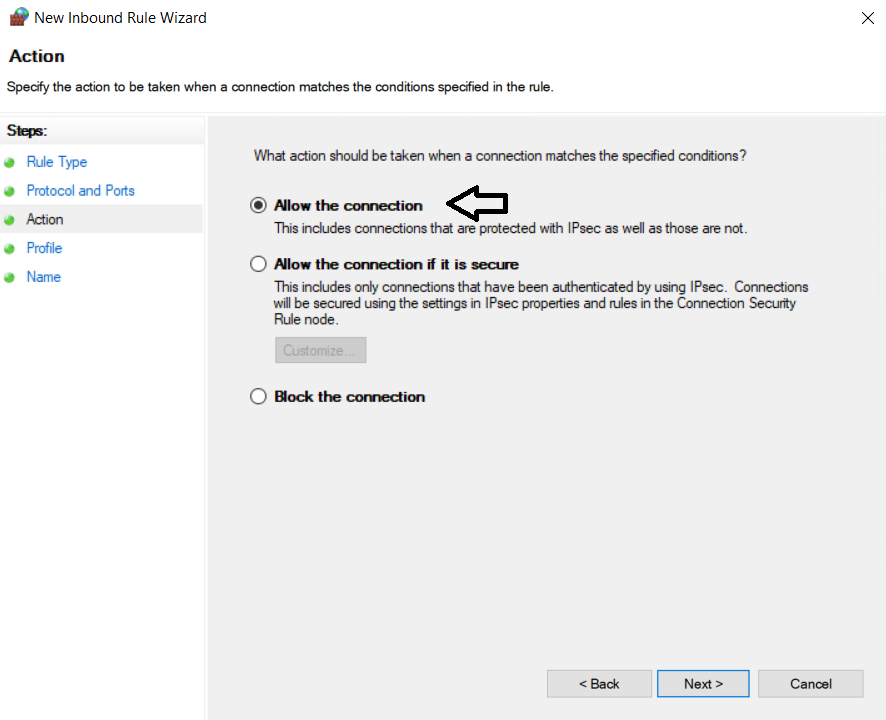
c) Allow the connection
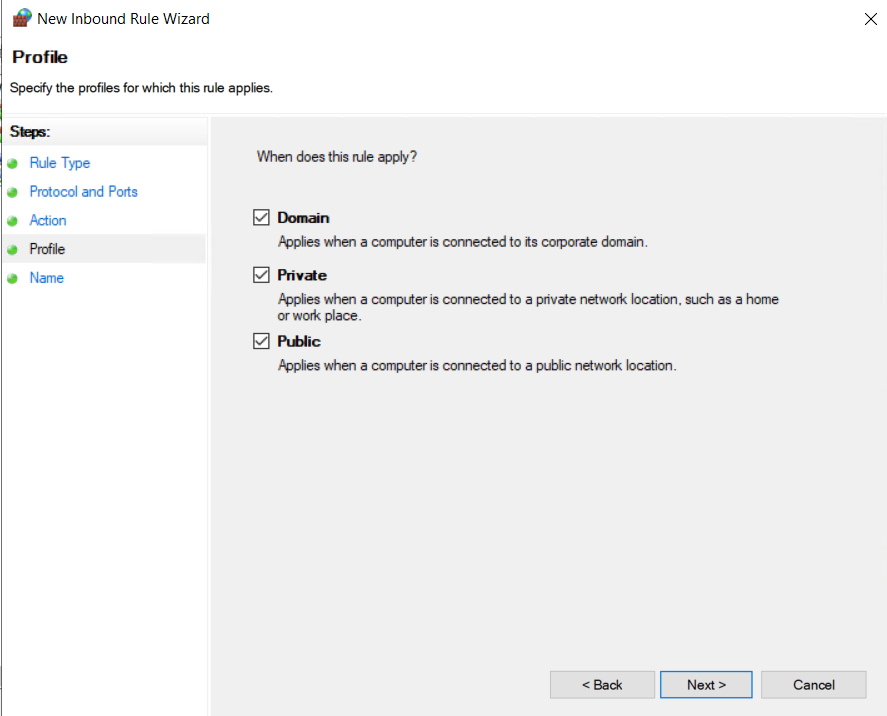
d) Select Domain, Private, Public accordingly (if unsure, leave all 3 checked)
e) You can give a name and title for the rule, to make sure that you can recognize the rule, if you wish to search for it in the future for changes. Click Finish.
11) Reboot your server.
Your server's RDP port has now been changed.


