In this article, we take a look at how to install GUI on Ubuntu server 18.04 and 20.04. Because GUI is notorious for exerting heavy demands on CPU and RAM, we will only focus on the installation of Lightweight desktop environments.
How to install GUI on Ubuntu 18.04 and 20.04 Server
After the successful installation of the Ubuntu Operating System on your server (18.04/20.04) and configured the SSH in order to connect, below are some of GUI templates for your
OS.
The GUI templates that you will be able to install on your Ubuntu 18.04 Server are :
- MATE core Desktop
- Kubuntu Desktop
- XFCE
- LXDE
Before we start with the instructions on how to install a GUI, it is required to update the system :
$ sudo apt update && sudo apt upgrade
Next, we are going to install the tasksel manager.
$ sudo apt install tasksel
When the above tasks are completed, you are ready to begin installing a GUI on your server.
Mate Core Server Desktop
To Install the MATE desktop, use the following command
$ sudo tasksel install ubuntu-mate-core
To Launch the GUI MATE desktop execute the command below
$ sudo service lightdm start
Lubuntu Core Server Desktop
This is considered to be the most lightweight and resource-friendly GUI for Ubuntu 18.04 server
It is based on the LXDE desktop environment. To install Lubuntu run the command :
$ sudo tasksel install lubuntu-core
Once the Lubuntu-core GUI is successfully installed, launch the display manager by running the command below or simply by rebooting your system
$ sudo service lightdm start
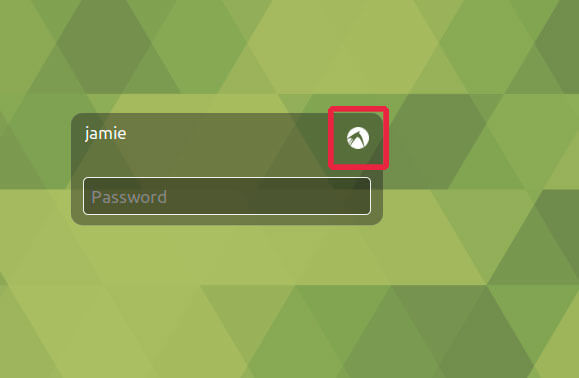
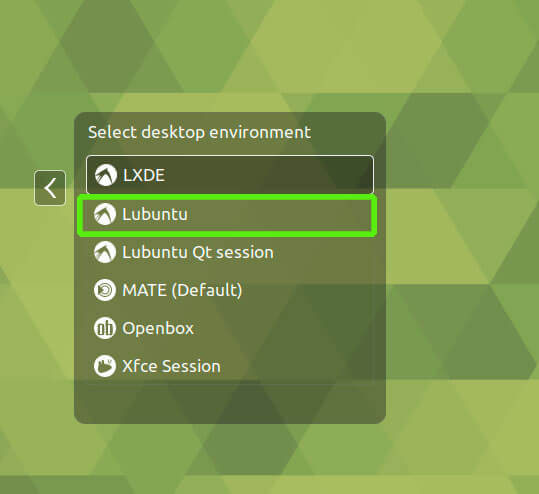
Thereafter, Log out and click on the button as shown to select the GUI manager of your choice

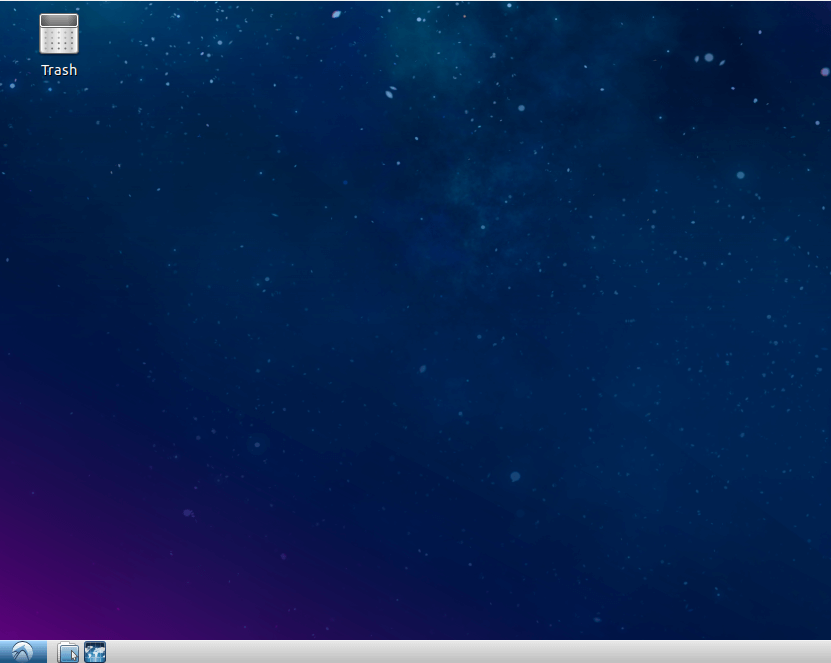
Log in and Lubuntu will be launched as shown

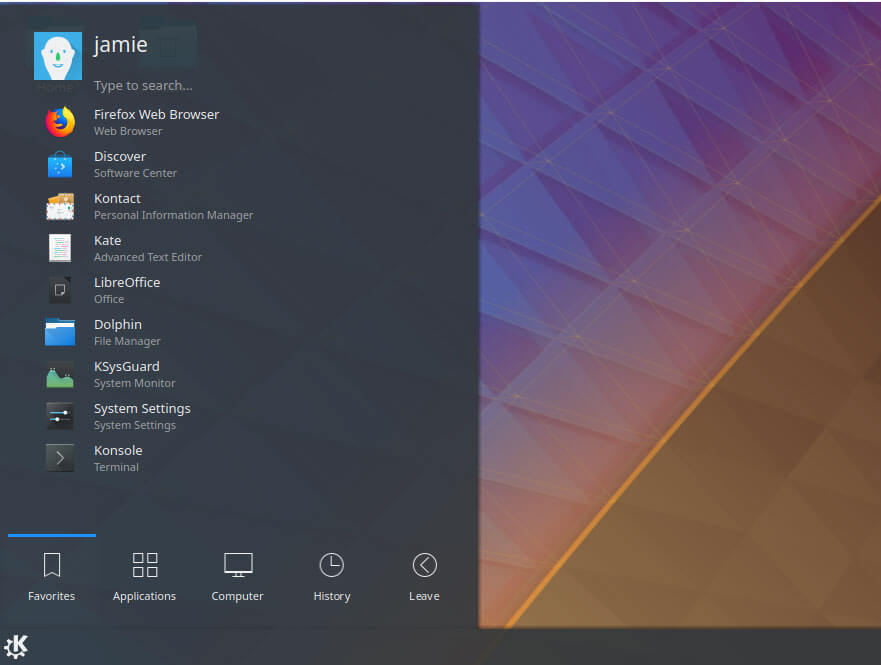
Kubuntu Core Server Desktop
Kubuntu is a lightweight desktop environment that borrows a lot from Xfce desktop environment.
To get started with the installation of Kubuntu run the command below :
$ sudo tasksel install kubuntu-desktop
Once it is successfully installed, start the display manager by running the command below or simply restart your server
$ sudo service lightdm start
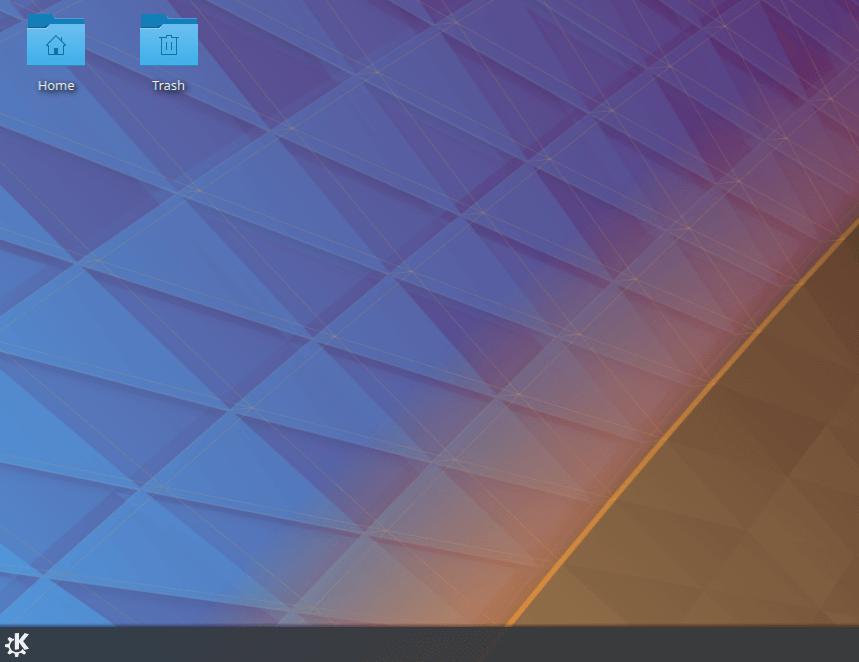
log out or restart your machine and click on the button below
From drop the drop-down list, select Kubuntu
XFCE
XFCE is a very lightweight desktop environment that is resource-friendly and takes up very minimal RAM and CPU resources. To install XFCE use the following command
# sudo tasksel install xfce4-slim
After the GUI installation, use the command to activate it
# sudo service slim start
This will prompt you to select the default manager. Select slim and hit ENTER.
Log out or reboot and select ‘Xfce’ option from the drop-down list and log in using your credentials.
Shortly, the Xfce display manager will be launched
LXDE
LXDE is a Desktop environment considered the most economical to system resources. Lubuntu is based on LXDE desktop environment. Use the following command
$ sudo apt-get install lxde
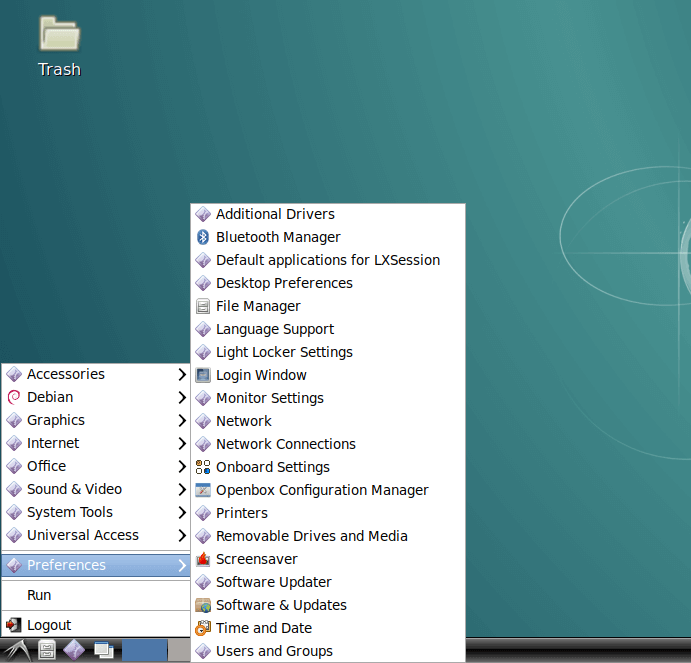
To start LXDE, log out or reboot and select ‘LXDE’ from the drop-down list of display managers on log-on.
After the successful login, the desktop environment and menu should look like below :