The following tutorial will show you the methods that you can extend/resize your disk. To avoid any data loss from your server, kindly submit a new request to our Support Department to create a snapshot.
Using GParted Tool
In this article, you will learn how to extend your disk drive on Linux Distros, using the GParted Tool. It is also referred for services that have been upgraded/added additional
block storage (SSD or HDD) upon upgrade request.
With GParted Tool you can perform actions with partitions such as :
- create or delete
- resize or move
- check
- label
- set new UUID
- copy and paste
The file systems that can be manipulated are :
- btrfs
- exfat
- ext2 / ext3 / ext4
- fat16 / fat32
- hfs / hfs+
- linux-swap -nilfs2
- ntfs
- reiserfs / reiser4
- udf
- ufs
- xfs
Before you start with any actions on your server, submit a new request to our Support Department to create a snapshot of your server in order to secure the integrity of your data stored.
After you receive a reply from our Support Team, you can proceed with the steps below to extend your disk drive.
From our Secure Customer Portal, select the service that has been upgraded on the SSD or HDD disk drive and mount the Tool GParted ISO image. Change the boot priority to CD-ROM, Disk, Network, and stop/start from NoNVC console your server.
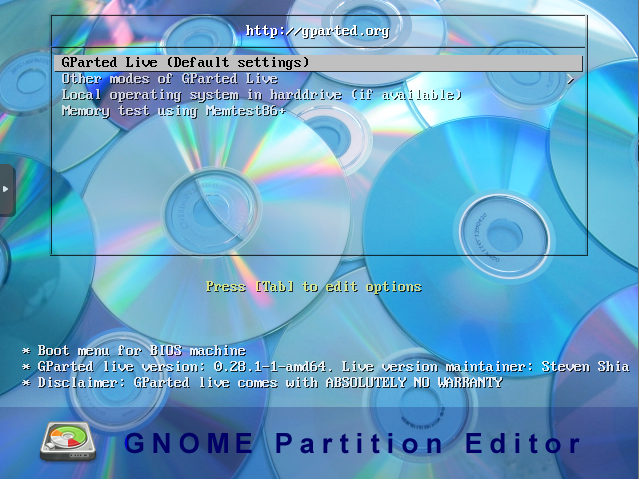
Once the Gparted Tool is loaded, select from the menu Gparted Live (Default Settings) and hit enter.
On the next window prompted (Policy for handling keymaps), select don't touch keymap and select the US English language from the keymap list (33).
Then select to load the default Gparted settings (0) and Gparted Tool will start to initiate.
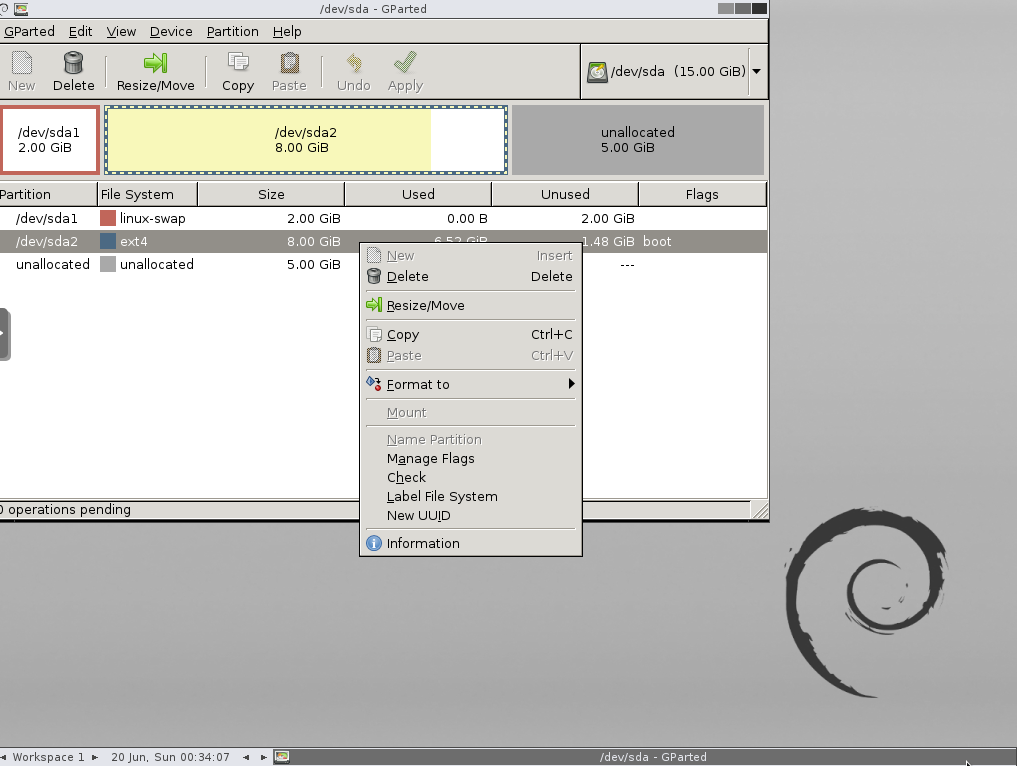
Once Gparted Tools loads, you will be prompted to the window as shown below with the partitions on your server.
Select the partition where your Operating System is installed (in this example is ext4 filesystem, /dev/sda2), right-click and select Resize/Move from the menu.
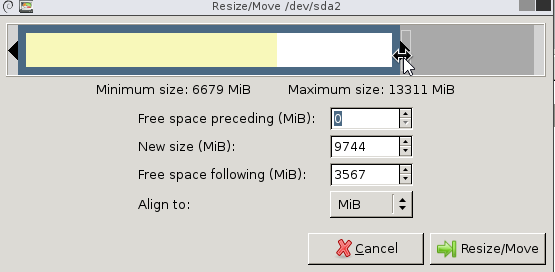
In the next window, drag from the right side of the sidebar, how much of the disk capacity you wish to use. If you want to use all the disk size, move the cursor/bar to the far right and select Resize/Move.
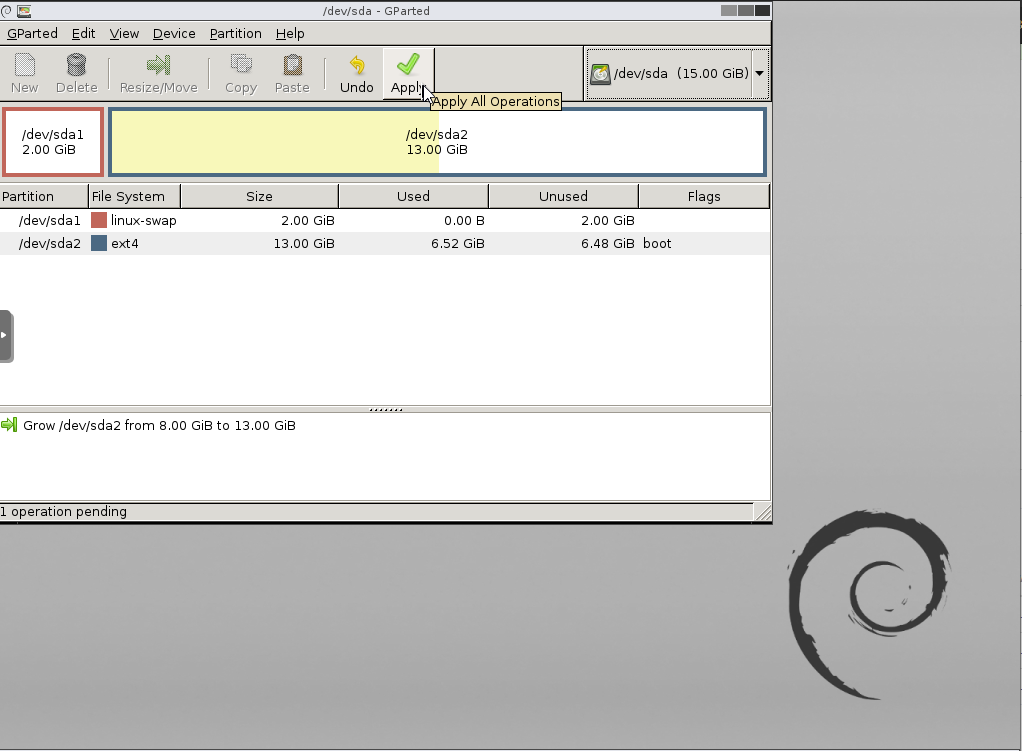
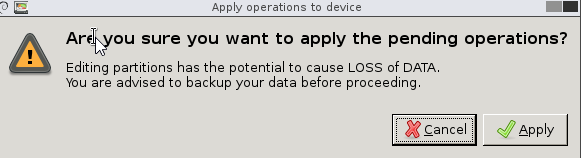
After you verify that the disk is exactly the amount you wish to use, select the Apply button from the top.
The next window that pops up will notify you that after these actions you have made, there is a potential to cause loss of data. In our case, you have requested from our Support Department to create a snapshot to prevent data loss if the disk extension fails.
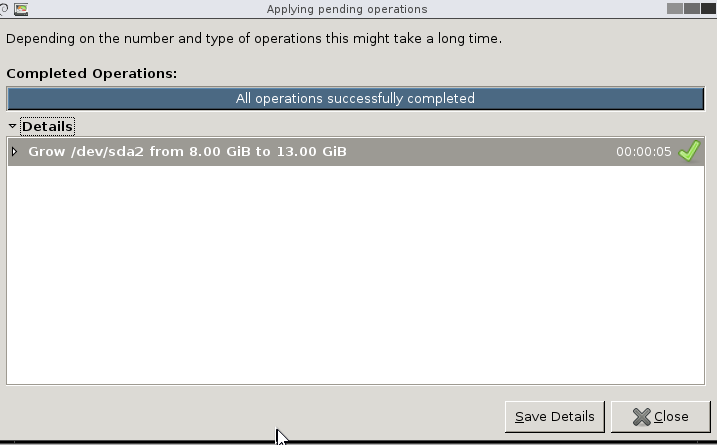
Once all actions are applied, the operations status bar will inform you that all operations have successfully been completed. Select close and select to close the next window to go back on the Gparted Main Menu.
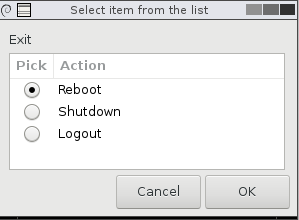
Before you select exit, you will have to change the boot order from our Secure Customer Portal to the initial settings: Disk, CD-ROM, Network. After you complete these actions, select the Exit icon on the Gparted Menu and then select Reboot.
Congratulations! You have successfully extended your disk partition on your server and you are ready to use it!
In case you require the above actions to be taken from our Support Team, kindly open a new request to our Support Department and inform us accordingly.
Extend LVM Partition
In case your server has an LVM partition, you can proceed with the following steps in order to increase or reduce the file system size.
Step 1 : First you will need to verify the file system that you want to proceed by resizing. You can view the available disk space and the partition group with the command :
$ df -h /home/

Filesystem            Size  Used Avail Use% Mounted on
 /dev/mapper/vg_cloud-LogV101
                                        20.7G  19.1G     0 100% /home
Step 2 : Check for free space in the volume group, based on the output that you will receive. You can see the free space with the following command :
$ vgdisplay < Volume-Group-Name>
For example, lets say that vg_cloud-LogV101 is your Volume Group Name :
$ vgdisplay vg_cloud-LogV101
   --- Volume group ---
 VG Name                      vg_cloud
 System ID
 Format                       lvm2
 Metadata Areas               1
 Metadata Sequence No         4
 VG Access                    read/write
 VG Status                    resizable
 MAX LV                       0
 Cur LV                       3
 Open LV                      3
 Max PV                       0
 Cur PV                       1
 Act PV                       1
 VG Size                      27.01 GiB
 PE Size                      4.00 MiB
 Total PE                     6915
 Alloc PE / Size              5256 / 20.53 GiB
 Free  PE / Size              1659 / 6.48 GiB
 VG UUID                      1T821GB-BIP1-9Dgu-zEVR-5H02-07GrC-Ufj7R4
Step 3 : To extend/resize the file system, you can add all the available capacity by running the command lvextend -r -l +100%FREE or select the capacity which you prefer to add as shown in the example below for 2G :
 lvextend -L +2G /dev/mapper/vg_cloud-LogV101
     Extending logical volume LogV101 to 22.72 GiB
     Logical volume LogV101 successfully resized
Step 4 : Update the extended file system by running the command resize2fs in order for all the changes to be applied :
resize2fs /dev/mapper/vg_cloud-LogV101
Step 5 : Verify that the changes have been applied after the above command, re-run the df -h command in order to verify that the /home file system capacity has changed :
df -h /home/
 Filesystem            Size  Used Avail Use% Mounted on
 /dev/mapper/vg_cloud-LogVol101
                        22.7G  9.2G  19.1G  84% /home
For Windows Operating Systems
Step 1: Navigate to Computer Management > Storage > Disk Management

Step 2: Right-click the volume that you want to extend, and then select Extend Volume.
Step 3: Select Next, and then on the Select Disks page of the wizard (shown here), specify how much to extend the volume.


Step 4: Select Next and then Finish to extend the volume.

Step 5: Now from Disk Management, you can verify that the disk has been expanded. Go to My Computer to verify that the selected disk drive has been extended and all files are intact.