In this article, you will learn how to enable Remote Desktop Connection (RDP) on your Windows Server Operating System (editions 2016,2019,2022) and how to configure the firewall rules within in order to communicate with inbound and outbound connections.
After successfully logging in to your Windows Server follow the below steps :
Step 1: Open Server Manager and select Local Server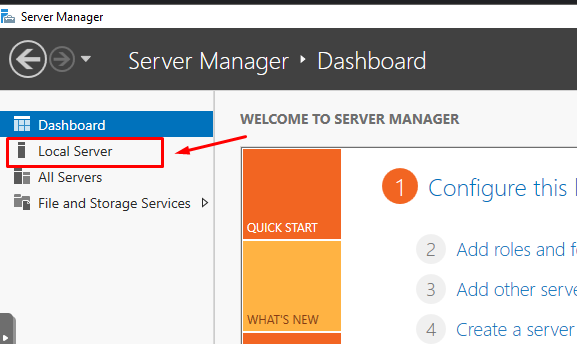
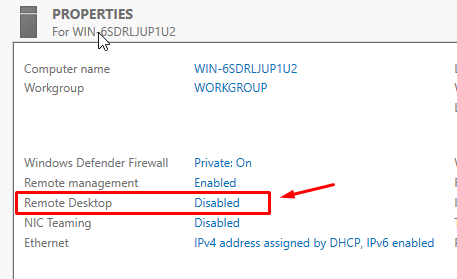
Step 2: Find Remote Desktop from PROPERTIES and click “Disabled”
Step 3: New window “System Properties” will pop up, select “Allow remote connections to this computer” and click OK.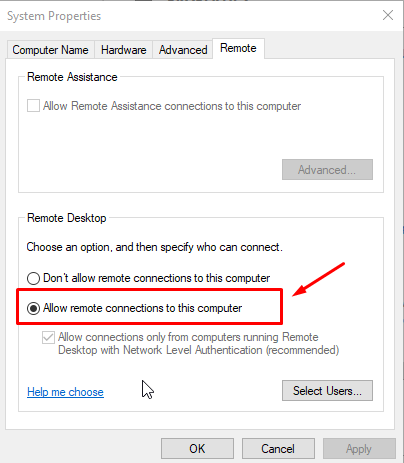
RDP connection now is ready and listening on port 3389.
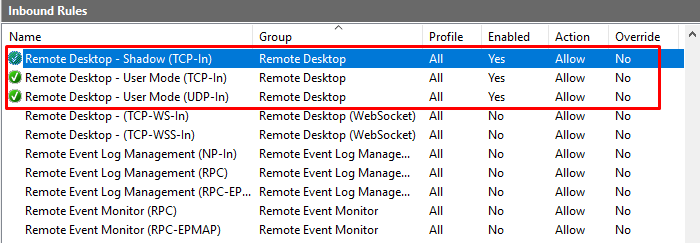
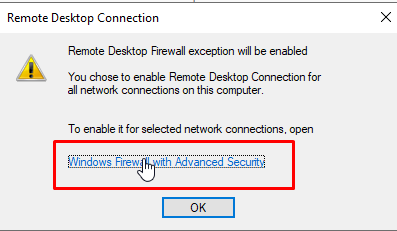
Note: Remote Desktop Connection windows will appear. Make sure that inbound rules for RDP connection are enabled.
Step 4: Click on “Windows Firewall with Advanced Security”
Step 5: Select Inbound rules

Step 6: In the list below, you will find these 3 rules that are enabled.If none of the below appears you will have to add them manually in order for your server to accept incoming connections at port 3389.
